Embroidery Project — Dodo Kindle Cover
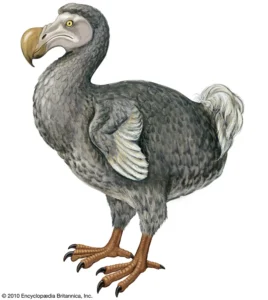
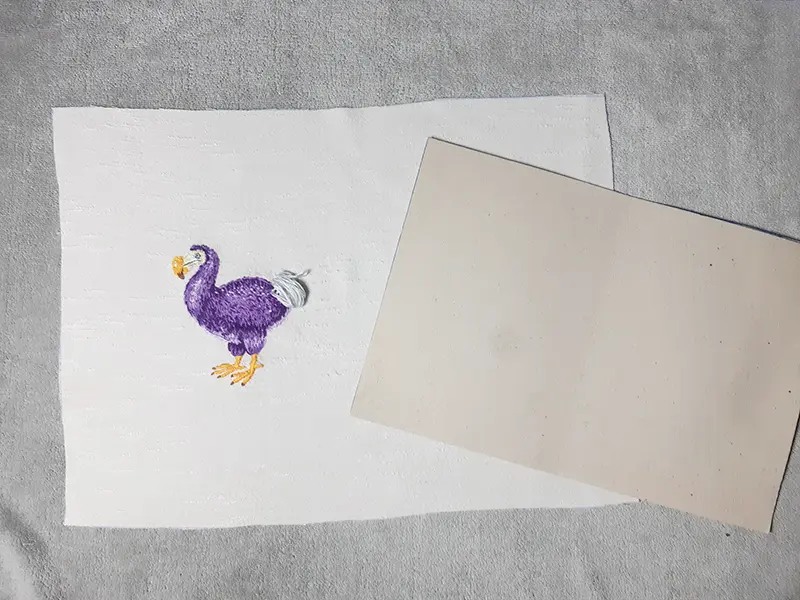
Why a dodo? Not just any dodo, but a specific one named Pickwick, from the Thursday Next book series by Jasper Fforde.
I found a drawing that seemed to best express how I imagine Pickwick, and used it for inspiration.
I started by preparing a piece of fabric large enough to wrap around the Kindle cover.. I was worried that because the fabric was a bit coarse it might interfere with the embroidery, but that turned out not to be a problem.
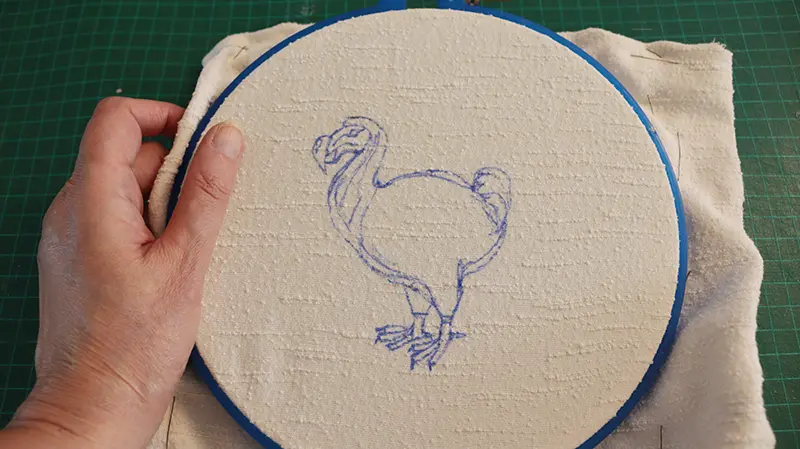
After stretching the fabric in an embroidery hoop, I gathered the excess fabric at the sides and stitched temporary seams so it wouldn’t get in the way of the embroidery.
I transferred the design with a special fabric pen that disappears with heat. Most lines will be covered by stitching, but some remain and will vanish with ironing in the end.
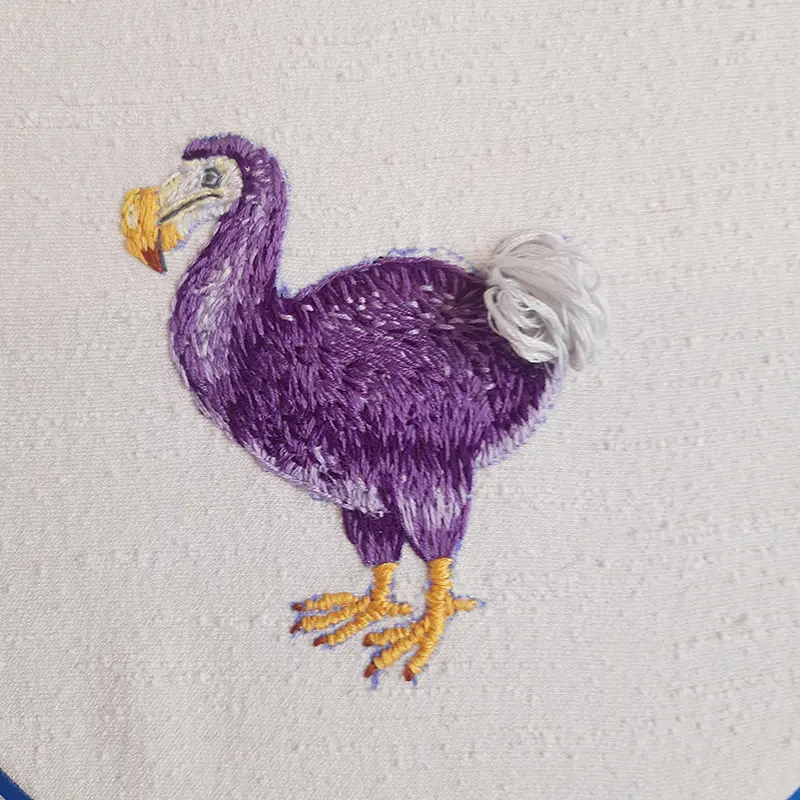
You might have noticed this dodo has no wings. That’s not because I forgot to draw them — Pickwick has no wings; that’s how she was created.
I began with shading using a thread of 3 strands.
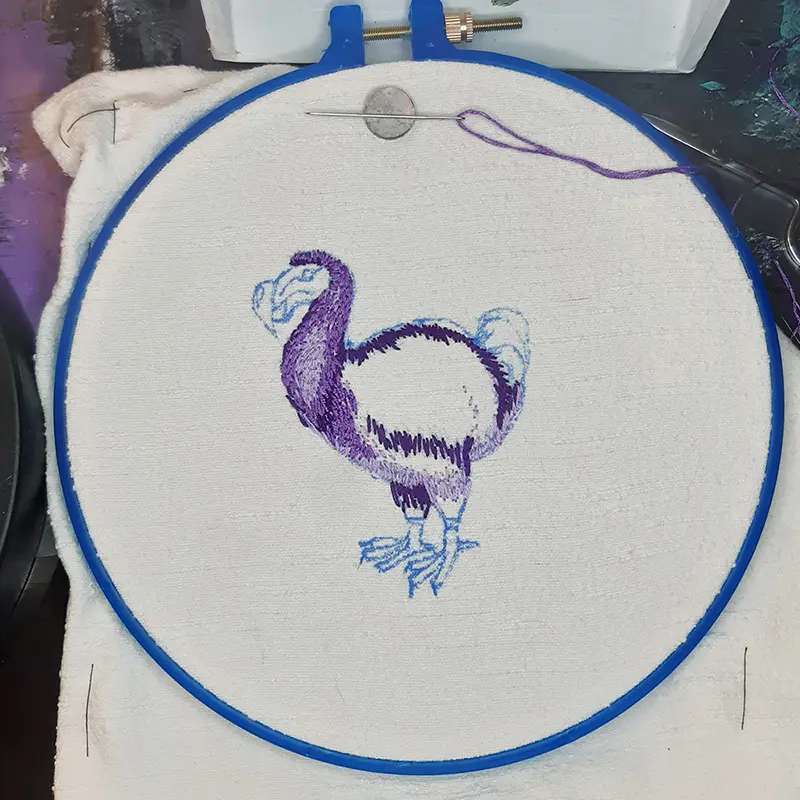
I didn’t have many purples, so the transitions aren’t spectacular, but that’s what I had.
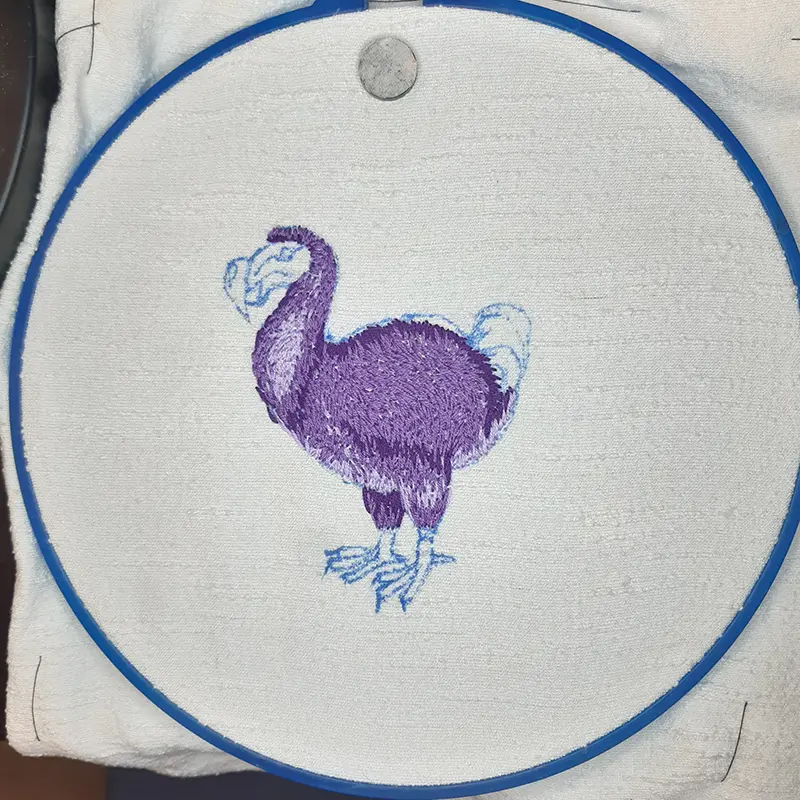
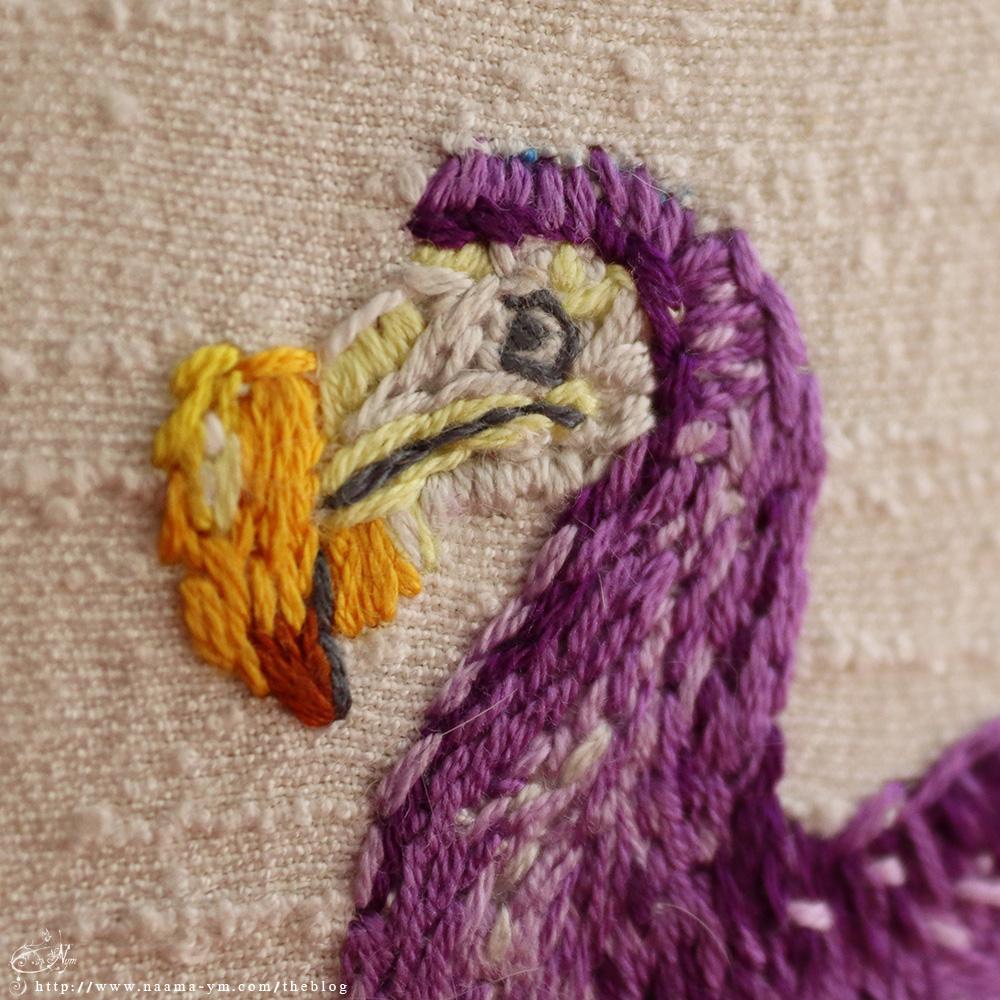
Next I added the beak and facial details.
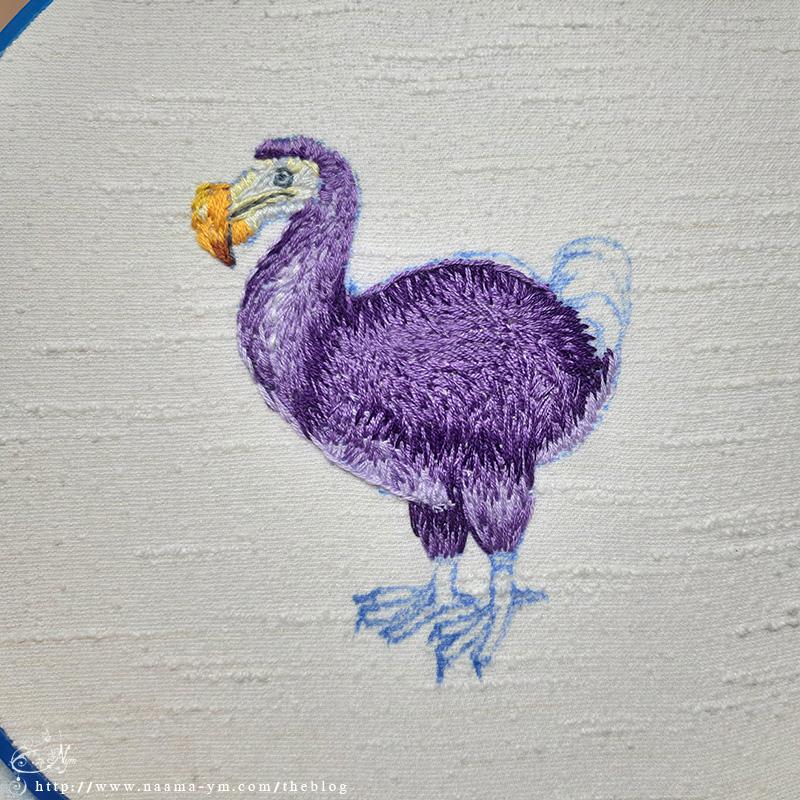
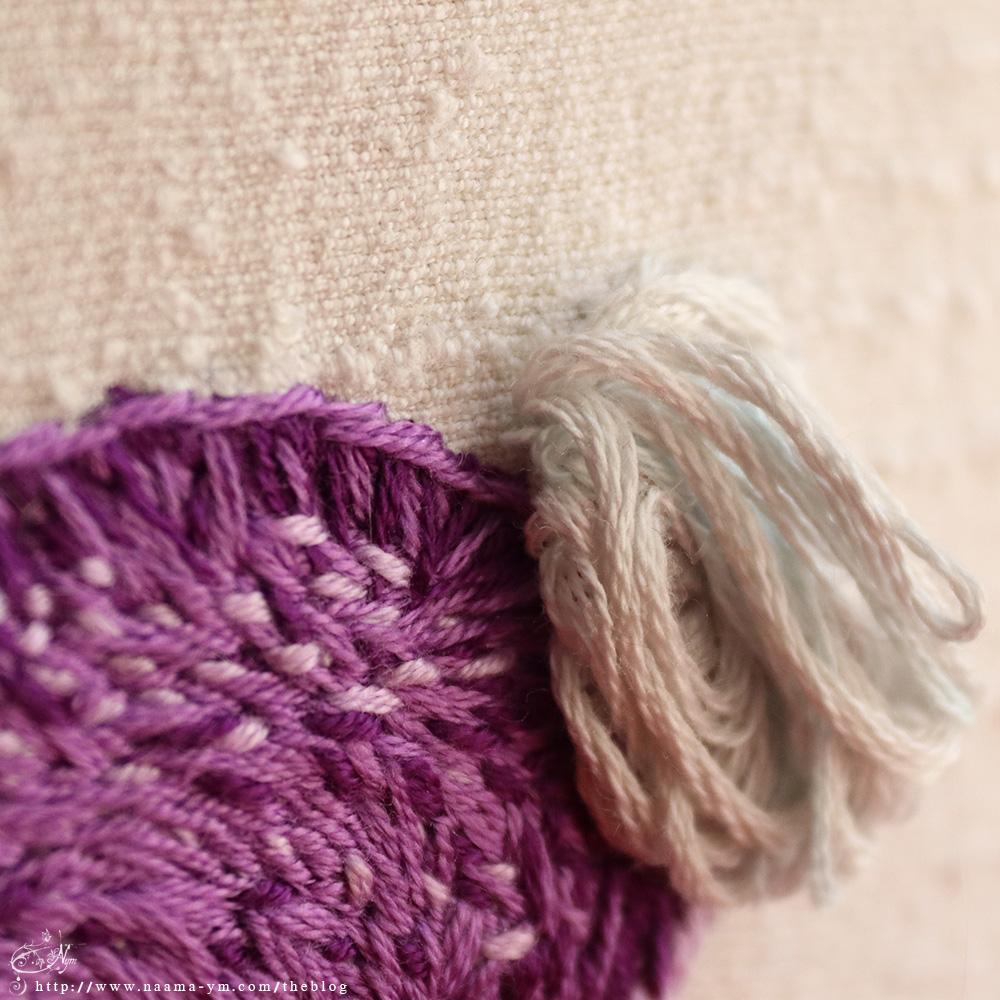
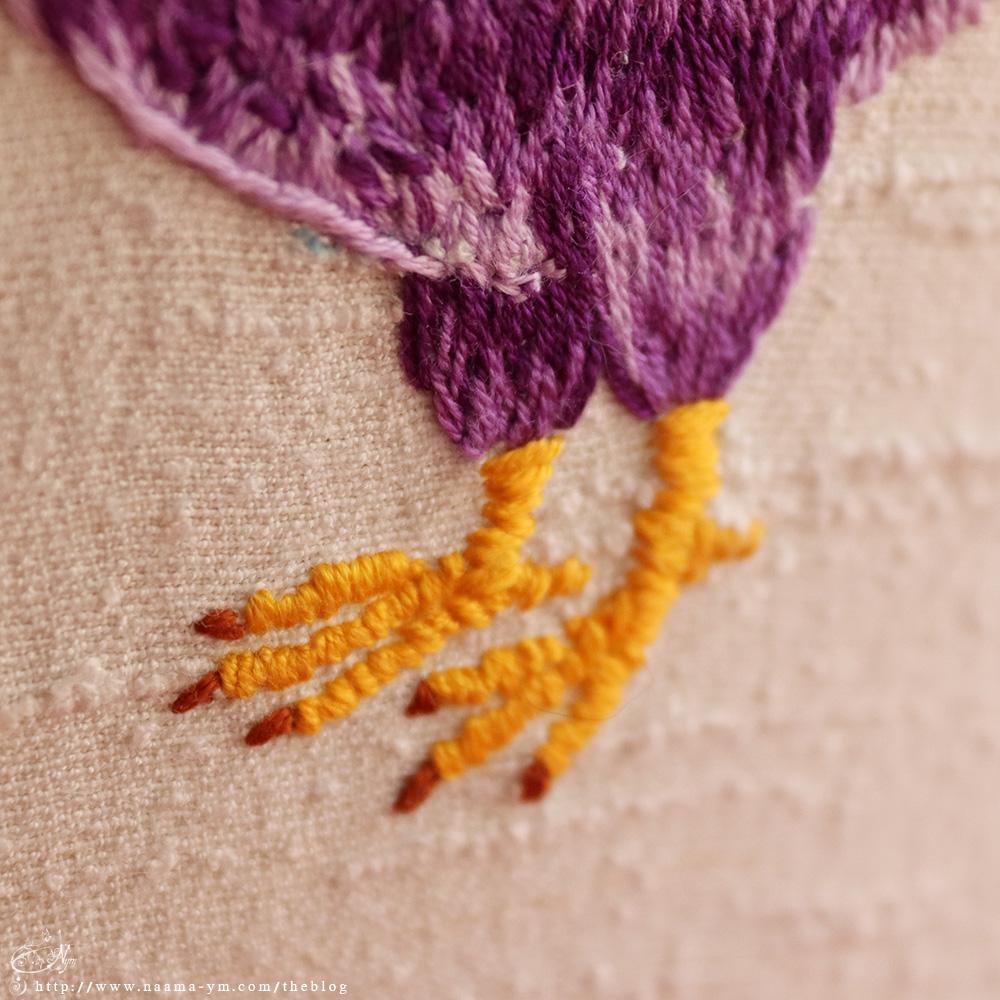
Then I added the tail, legs, and small features. I used thinner threads for transitions between darker areas and to give more texture, so the body wouldn’t look flat or boring.
Here’s a close-up of the face and the tail.
To remove the pen marks, I heated the fabric — no more ink lines. I used a hair dryer’s heat to erase what remained of the marks.

Once the embroidery was done, I moved to the next step.
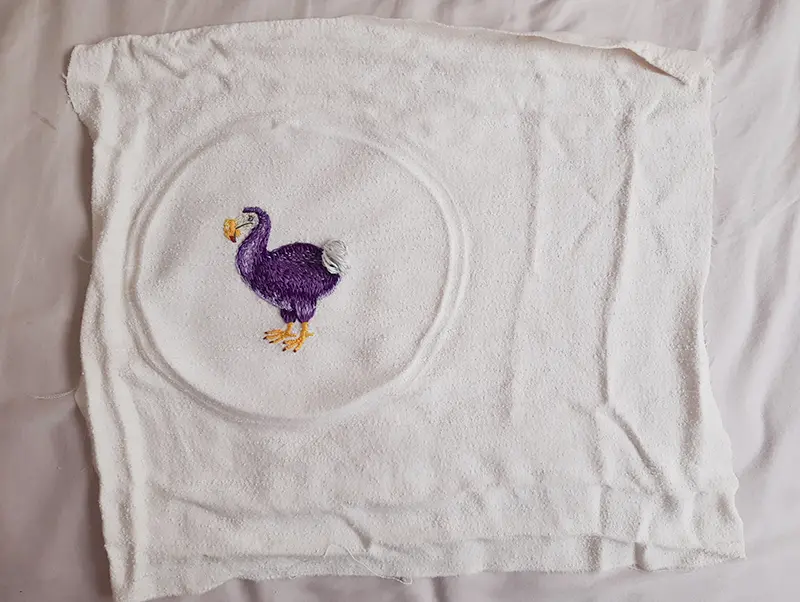
First I ironed the fabric to remove hoop marks. Sometimes I wet it slightly first to eliminate those wrinkles.
I cut the fabric to the proper size, with a few extra centimeters around all sides. Apologies for the lighting and photo quality in some of these images.
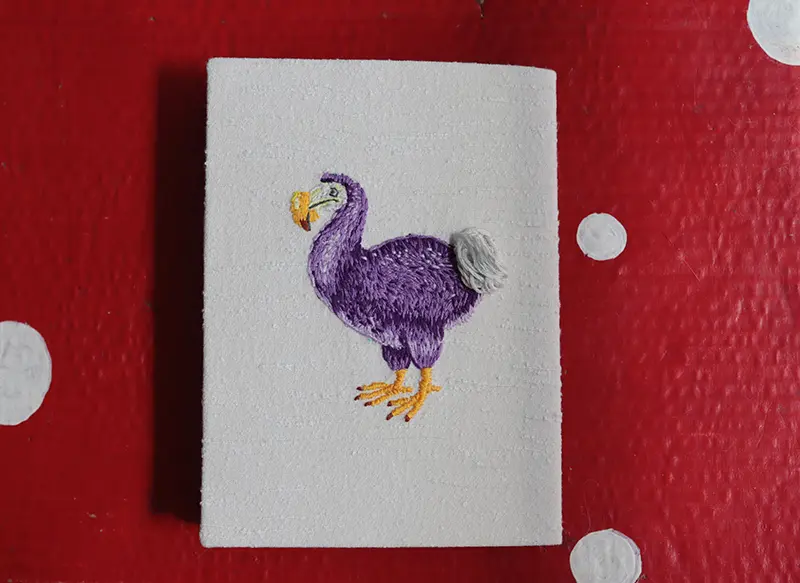
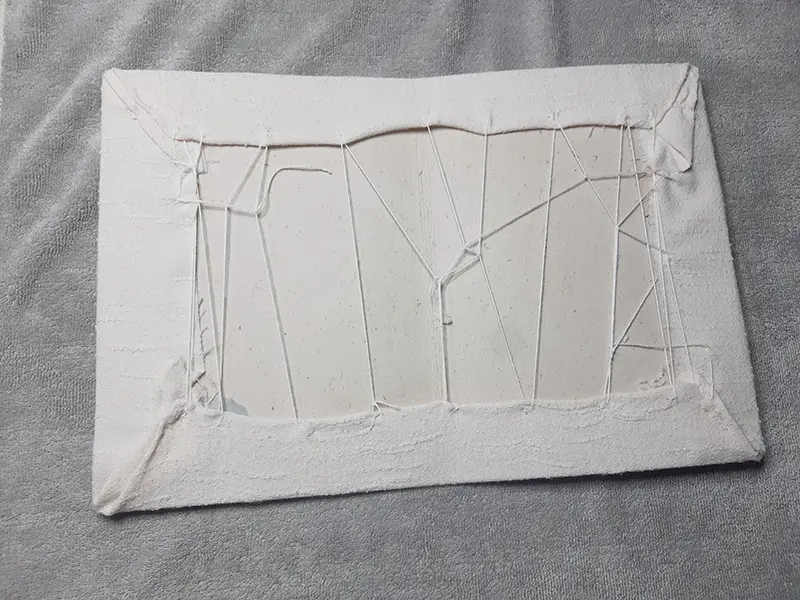
I cut a rectangle from a cereal box as a stiffener, and wrapped it with the fabric, securing it with stitching at the corners and joints.
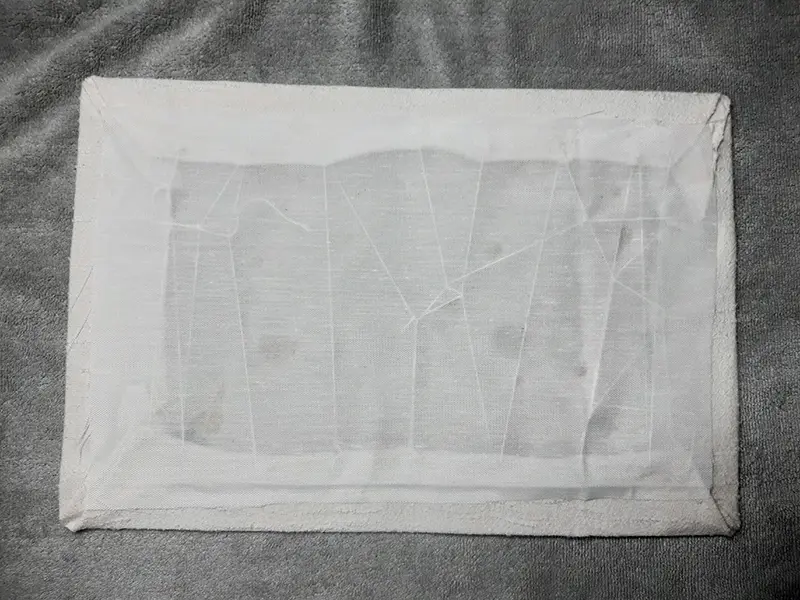
To give it a finishing touch, I glued a piece of fabric on the back, just for aesthetics.
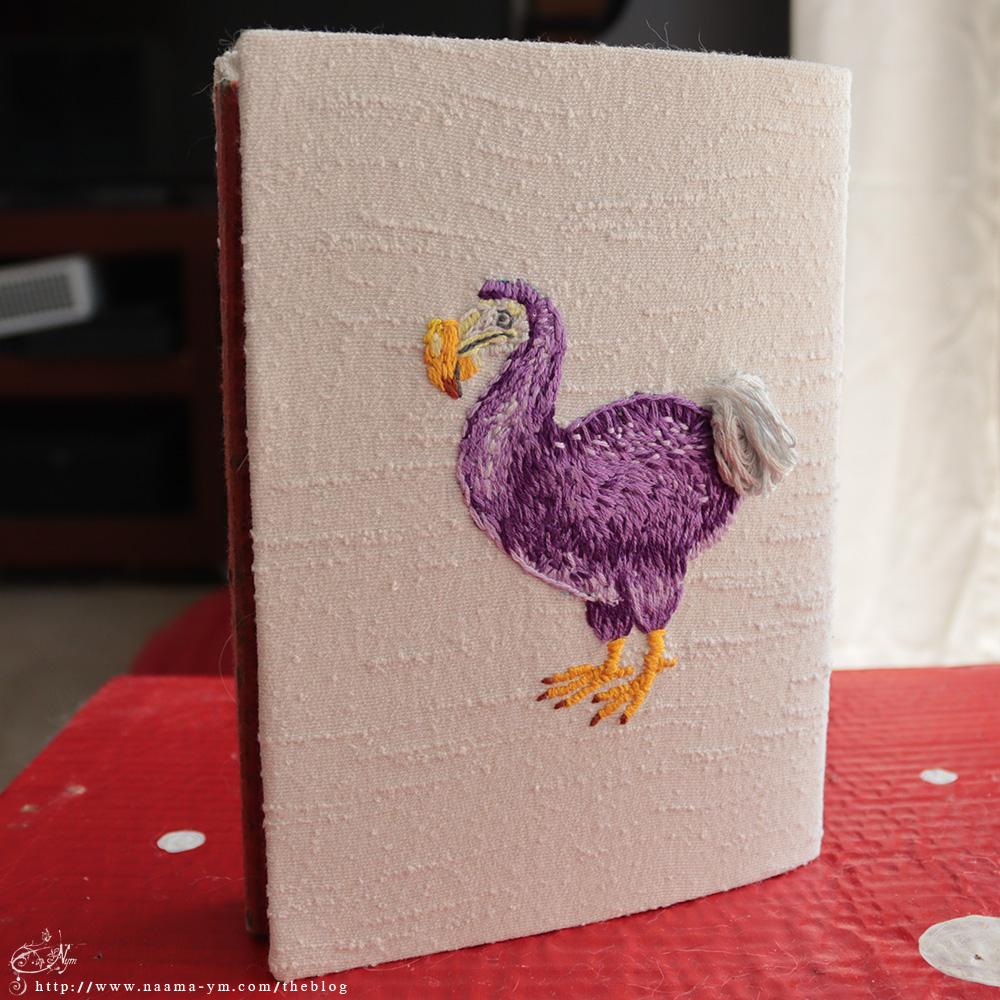
And that’s it — I attached it to my Kindle cover with glue, and now I have a new pretty cover.
How to make such a Kindle cover? It’s actually pretty simple and doesn’t require special materials. In this post there’s a detailed outline with photos of the process.
Here are a few photos of the finished project.