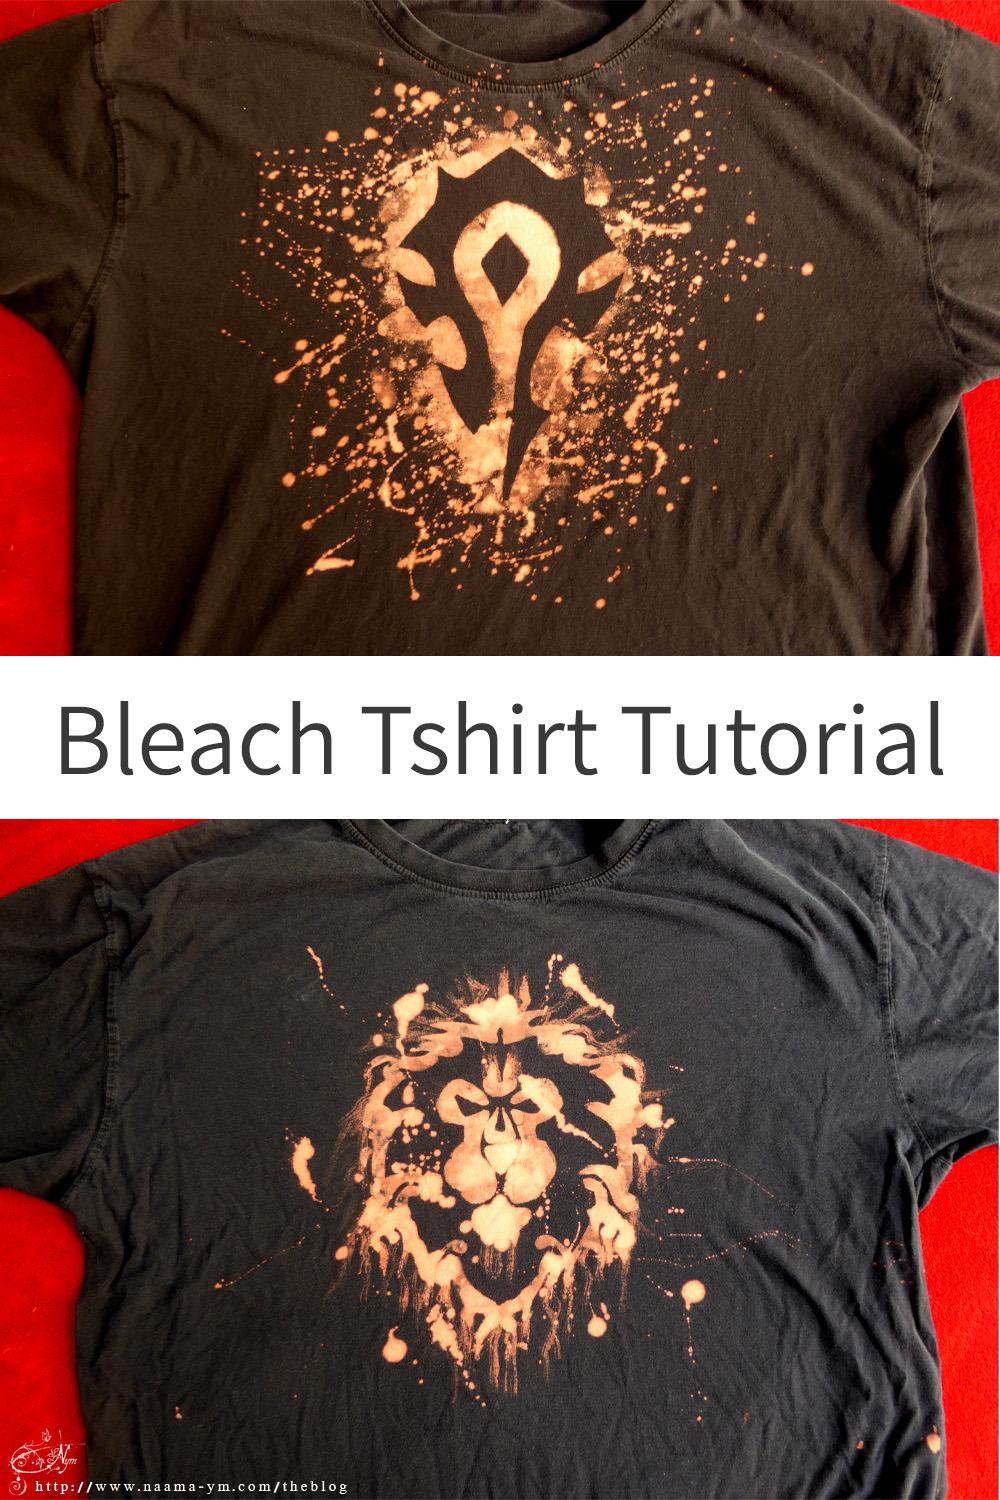
One of the easy ways to create an interesting pattern on a t-shirt is with bleach. The bleach removes the color of the shirt and reveals the basic color of the fabric. The resulting color is usually pink-orange but it can also be green or blue, depending on the origin of the shirt.
what you will need:
- Dark T-shirt
- Thick paper or thin cardboard (like a cornflakes package) for the stencil.
- Utility knife.
- Double-sided tape (or sellotape) to tape the stencil on the shirt
- A thick cardboard rectangle – to protect the other side of the shirt.
- An old towel or other fabric.
- Bleach (liquid or gel).
- Sponge/brushes/spray bottle.
The stencil
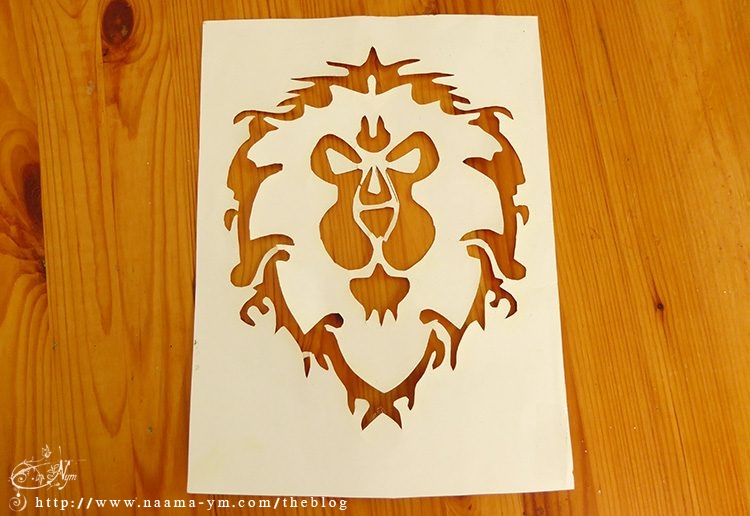
Use a stencil made of thick paper or cardboard and not plastic, Because the liquid seeps under the plastic, and the edges get blurry and not sharp. The paper absorbs the remaining liquid and leaves the lines relatively clean. The stencil should be made of thick paper or thin cardboard. Thin paper may absorb the bleach and transfer it to the shirt.
Important note!
Bleach is a very strong and unpleasant substance. You should work in a well-ventilated room or outdoors.
Ensure that the material does not touch your eyes and it is preferable to work with gloves.
Wear old clothes you don’t mind spoiling, and protect the clothes and any other fabric in the area. The stain created by the bleach is permanent. I always work with a kitchen apron.
Unfortunately, I didn’t take pictures of the process this time.
1. Prepare the stencil
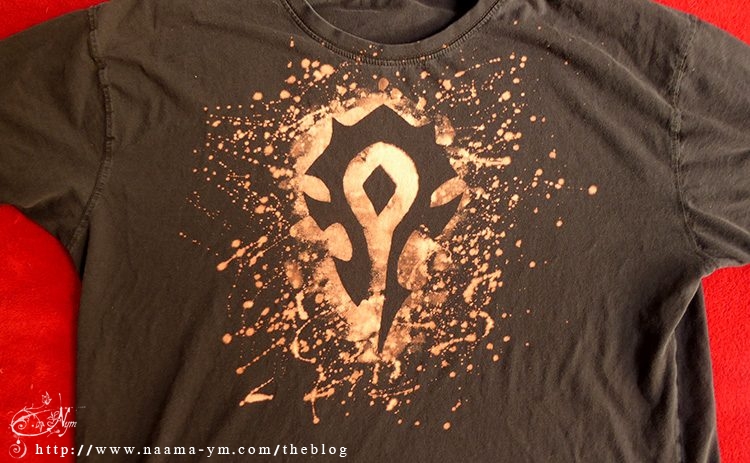
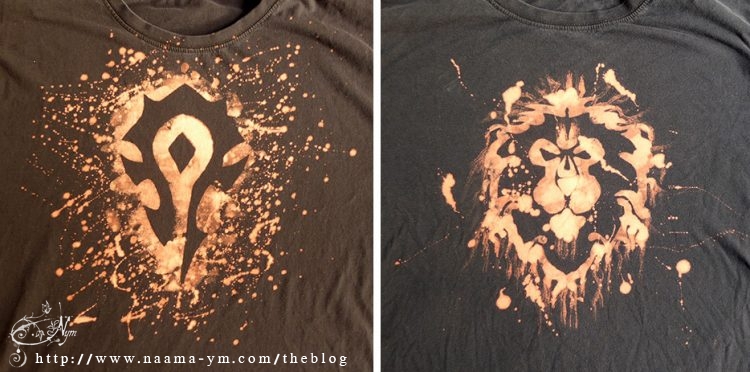
You can draw freehand or download an image from the internet of the symbol you want. The symbols chosen for these shirts at the boy’s request were the symbols of the opposing camps in the game World of Warcraft: the Alliance (the lion) and the Horde (the strange symbol on the left).
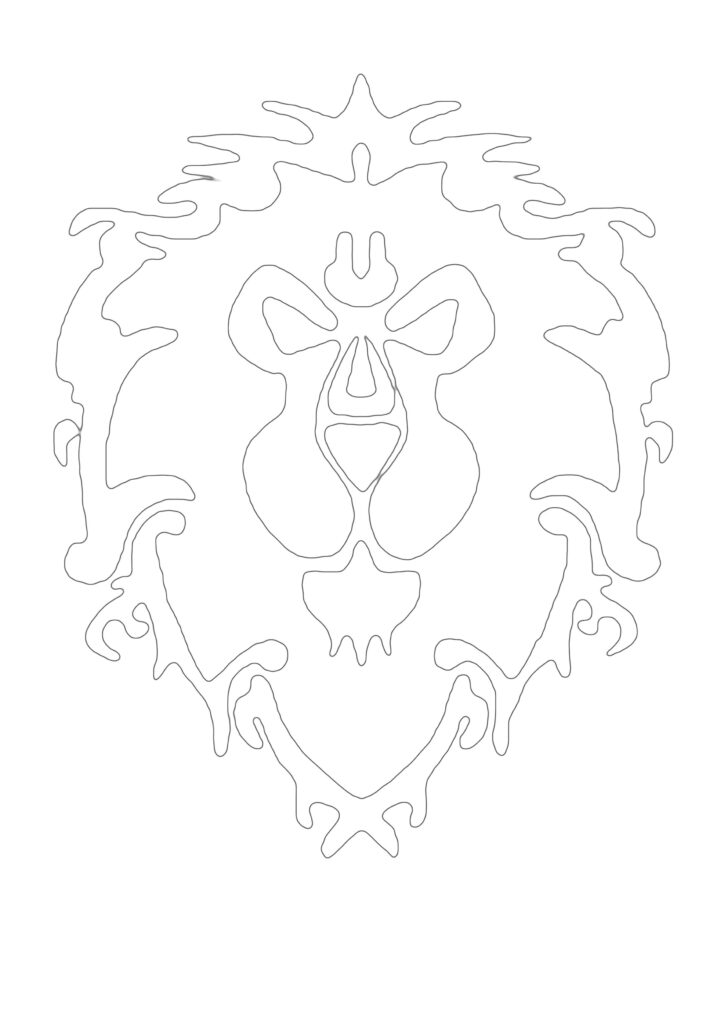
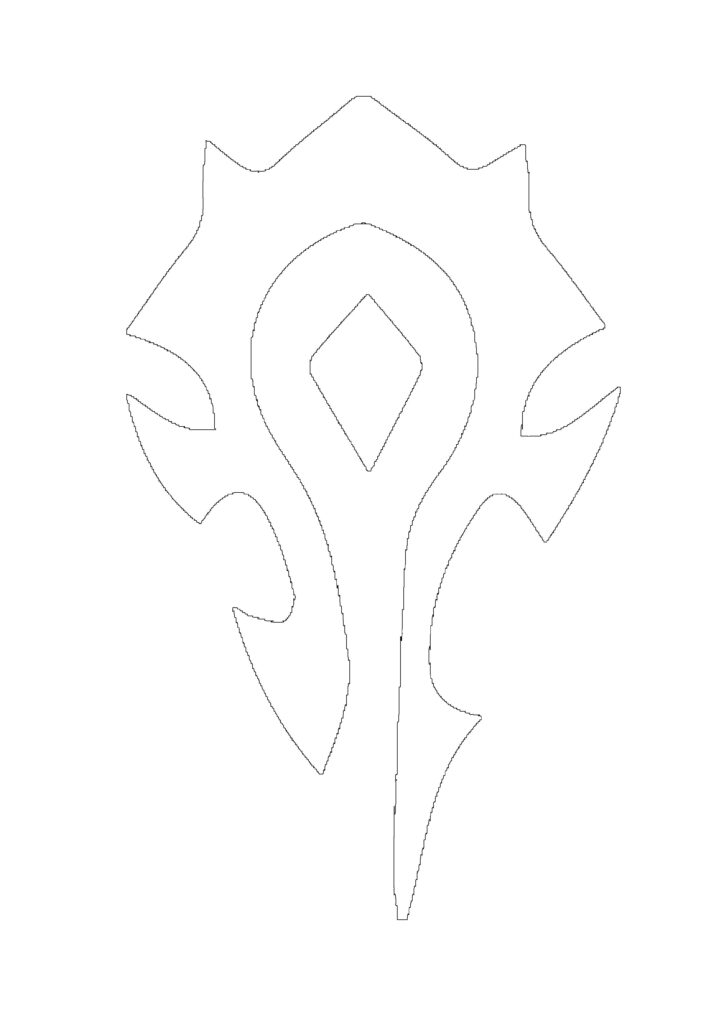
I downloaded the symbols, printed them on thick paper, and carefully cut them with a utility knife. You need a lot of patience for this step especially when it is a symbol with many curves and details.
You can also print on plain paper and transfer the pattern to thin cardboard.
2. Prepare the shirt
Straighten the shirt.
Put a large cardboard rectangle inside the shirt, to protect the other side of the shirt, so that the bleach does not seep through and stain the other side.
Tape the stencil to the shirt with double-sided tape. You can also use pieces of regular sellotape that are rolled into a ring shape.
Place the stencil on the shirt in the area that should be the chest area. Align to the center and try to make it an equal distance from the sides.
Fold all the other parts of the shirt under, or covered them with a towel. Protect the rest of the work area.
Wear an apron, and in general work only with old clothes that you don’t care if they get stained.
Keep the room ventilated, and work with an open window.
3. The bleaching
Absorb a piece of sponge in the bleach, and with light taps go over all the holes of the stencil, the parts that will eventually be the bright parts. You can see the effect almost immediately. keep in mind that the bleach will keep on working until you wash the shirt.
Carefully lift the stencil, even though the shirt and stencil are still wet. Now you can see if there is a part that is not painted well. Go over this area with a brush dipped in bleach. You can use this opportunity to go over the areas you want to emphasize with the brush.
Pay attention to work carefully, the brush may also drip in areas you did not intend, so it is advisable to put a towel in the area between the dish with the bleach and the shirt not to leave a trail of drops.
In this picture, you can see that I emphasized the fur with the help of the brush.
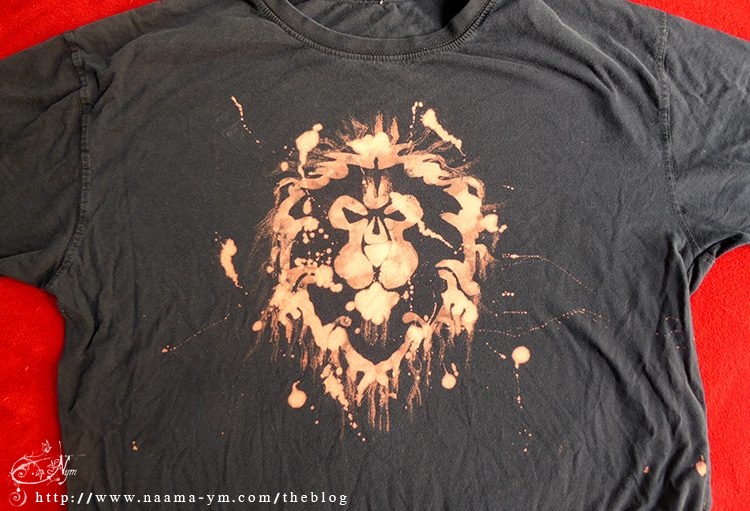
To add random elements, and to give more of a sense of movement and power, splatter drops of bleach with a brush. Imagine you are Jackson Pollock. This step is not necessary but it gives something very unique to the shirt. At this stage there is no longer any protection on the other parts of the shirt, so pay attention to really spray only in the desired area.
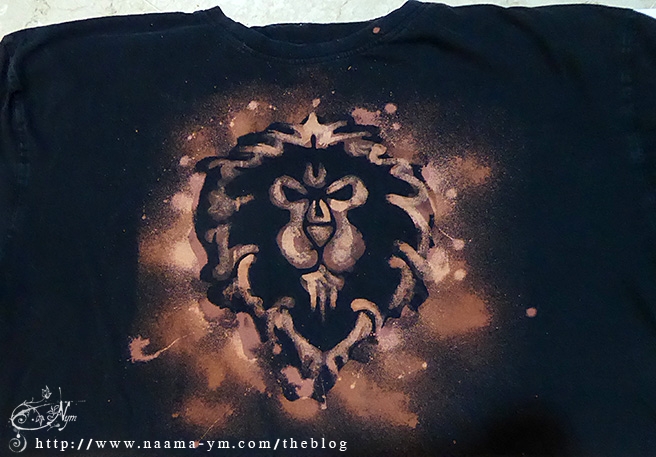
Another way to get an interesting effect – put a full stencil on the pattern that covers the entire area that was visible before plus margins. Then using a spray bottle that is filled with bleach, spray around the edges. When it comes to splashing with bleach, it is important to do it very carefully so that it does not reach the eyes.
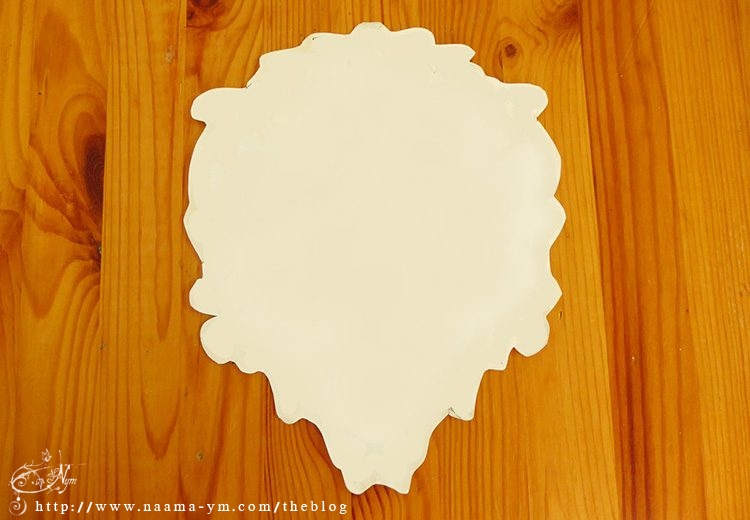
This is another shirt I made with the previous stencil, here I did a “Jackson Pollock” all around with the central pattern protected by a full stencil.
4. Stop the bleaching
The final step – take out the cardboard that protected the shirt from the inside and wash the shirt well with plenty of water. The purpose of this step is to remove residual bleach so that it does not continue to work on the shirt. Too long exposure to bleach can weaken the fabric.
After that, you can wash as usual or just rinse well with water and hang to dry. When the shirt is dry you can see the pattern better
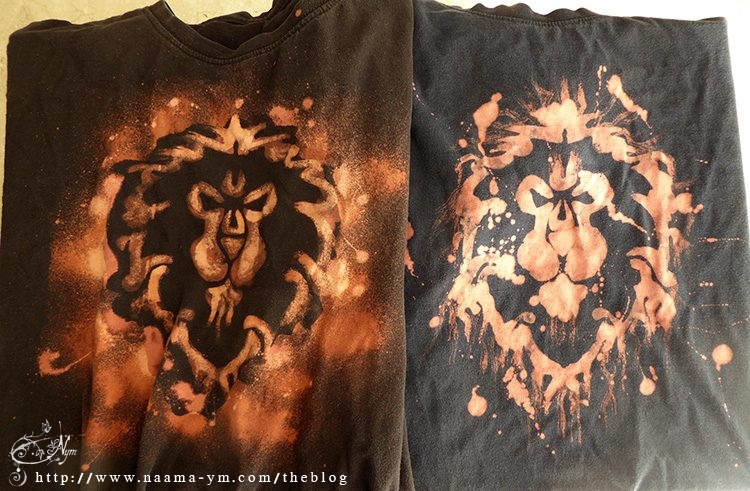
Although both shirts are made using the same stencil, each one is unique.
I made the Horde shirt using the same technique. Only here the template is negative. It covers the symbol area and you can see it because of the splashes around it. Here too I started with a sponge around the shape to emphasize the contours and then worked with brush strokes.
And that’s it.
Using the same technique, I made a shirt for myself inspired by Terry Pratchett .
I put the horse on a t-shirt, as I imagined it to be, from the book “A Hat Full of Sky”.

Do you want to learn more?
Check out my online classes on Skillshare
(and get 1 month free.)