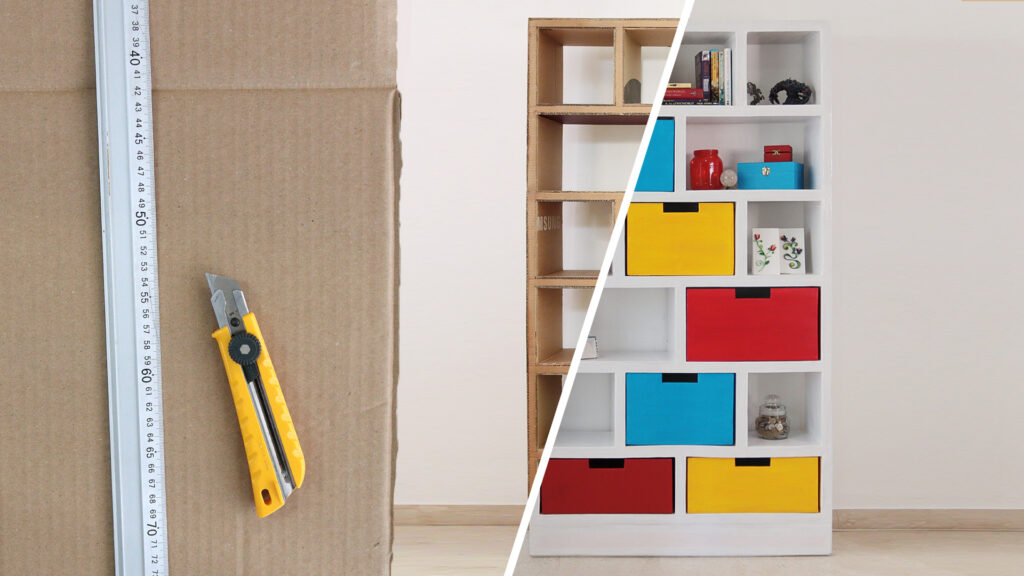
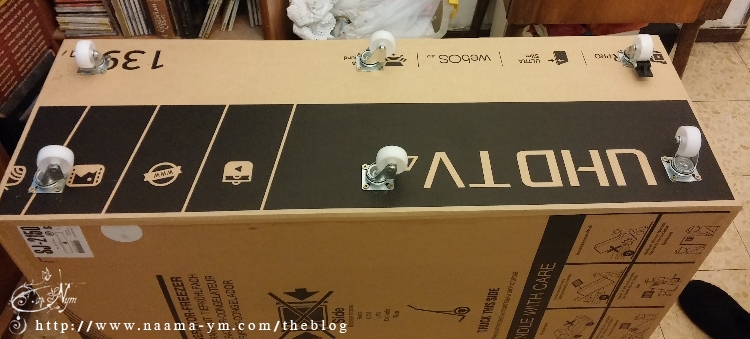
when the need arose for a TV cabinet that would be more functional than the one we had, I declared that under no circumstances would I buy one, I would make one myself! And finally do something with these dusty cardboard boxes.
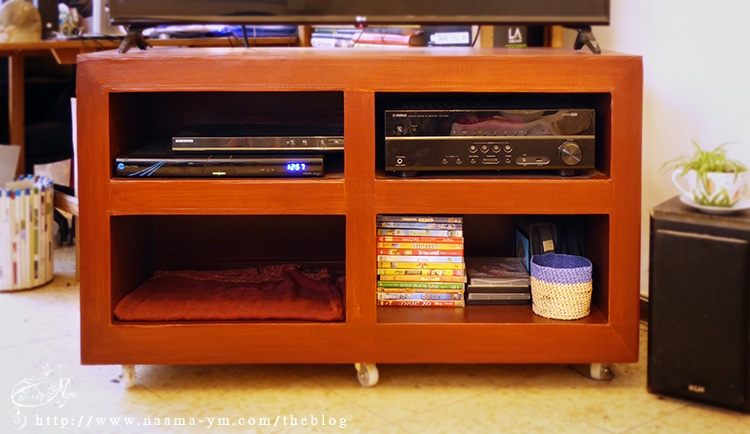
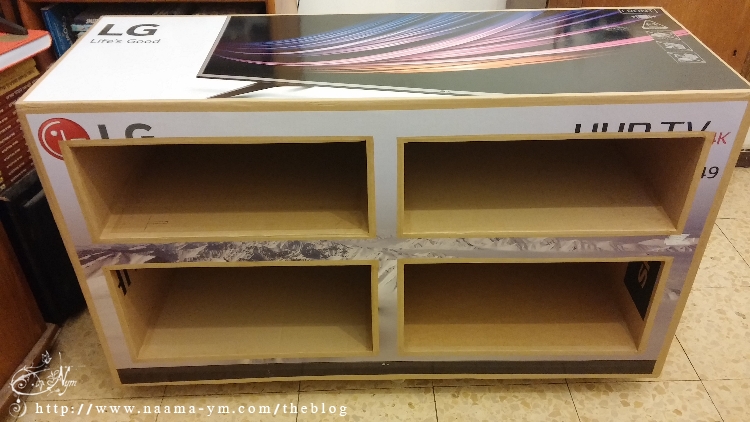
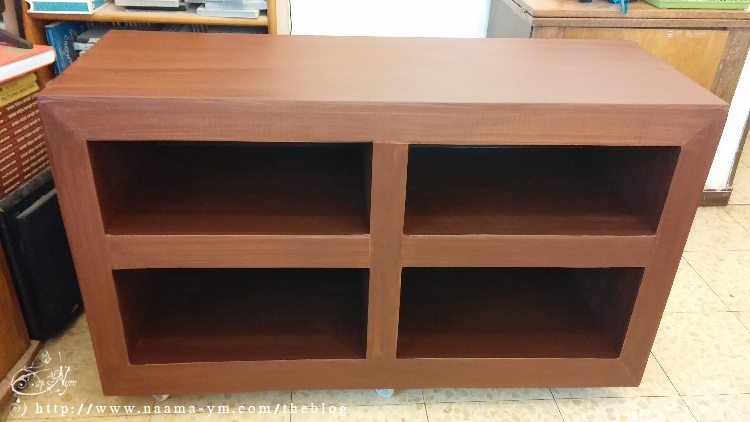
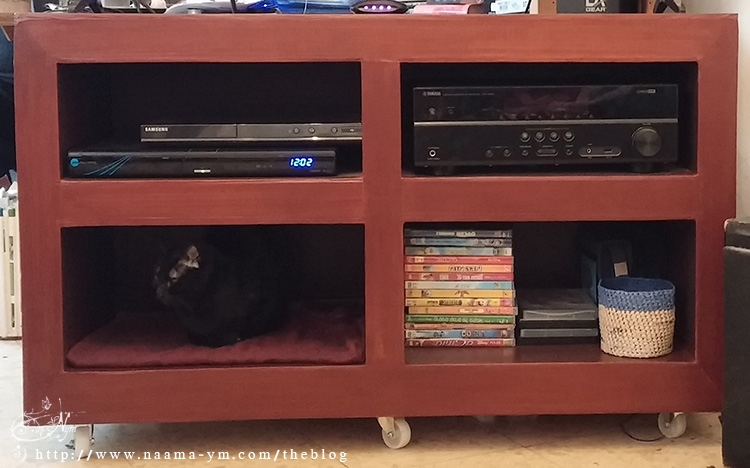
I will start from the end, this is what the final result looks like
And now some images of the process, including insights and tips.
The first step is measuring and planning. I don’t have a picture of this step, but I can share two tips:
Tip 1 – I didn’t take into account the height of the wheels. I knew I wanted the cabinet to have wheels but I measured by the wheels of the previous dresser, but the wheels I ended up buying were taller. The right step was to buy wheels and only then calculate the height of the furniture accordingly. It wasn’t terrible because the difference in height was not very significant in this case, and I got used to the new height.
Why wheels? Because this is a cabinet that is not attached to the wall, it serves as a kind of divider in our living room/working corner, and sometimes it is necessary to move the cabinet to reach the shelves that are next to it.
Tip 2 – it is important to take into account that cardboard has a thickness, and when measuring the inside of the cells, you have to add that. The inner panels of the cells will reduce the area inside the cell by about 1 cm (depending on the thickness of the cardboard). This was also not critical because still There is room inside for what I wanted, but this is an important point.
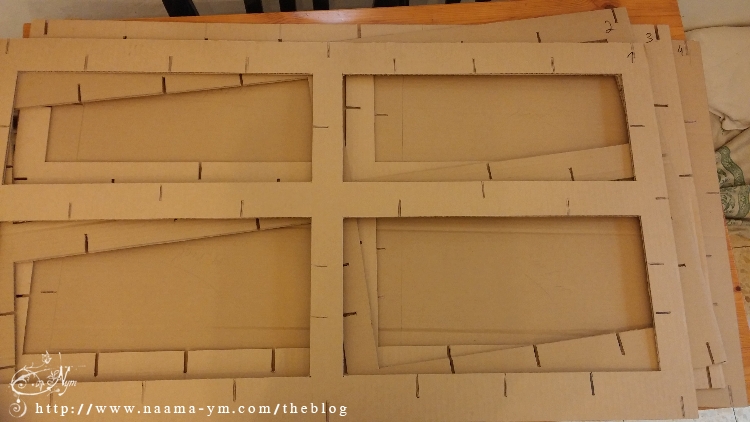
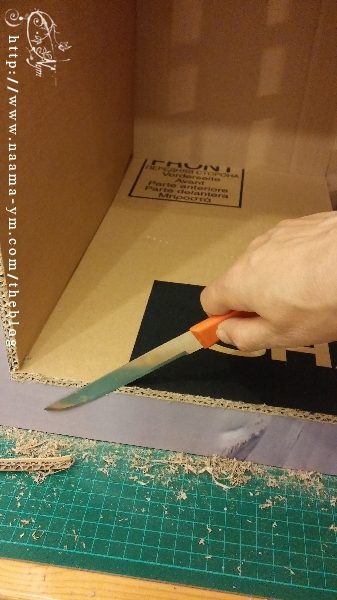
I cut the first cardboard. I didn’t cut it directly on the table, I have a cutting mat for that, I’m not barbaric.
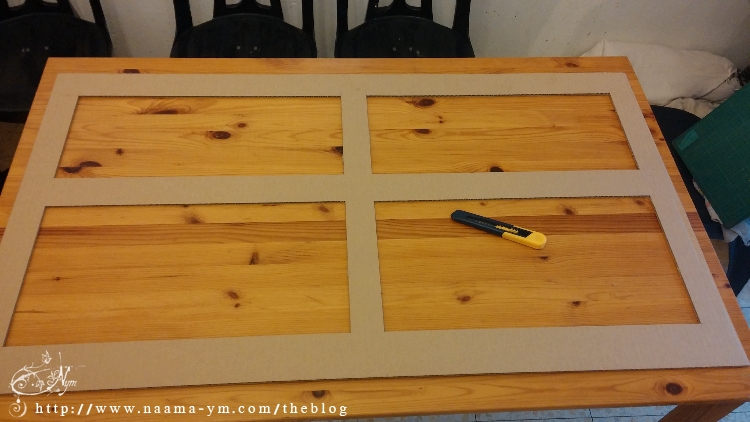
This one will be a template for the others.
I put two together and marked the lines.
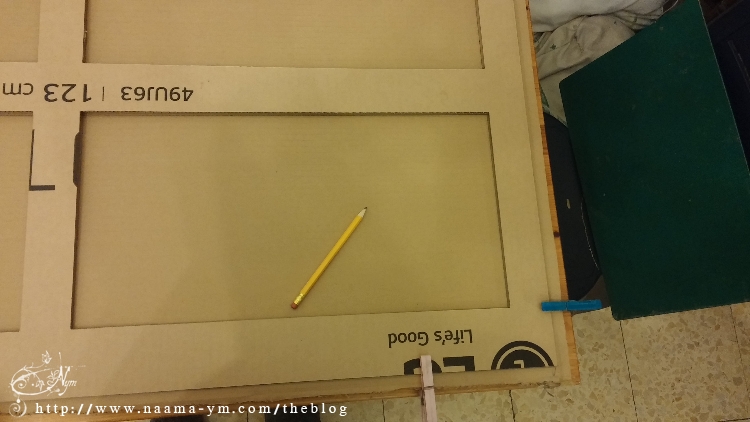
In this way, I have four. remember to give them numbers to avoid confusion.
#1 will be in the front, and #4 will be in the back.
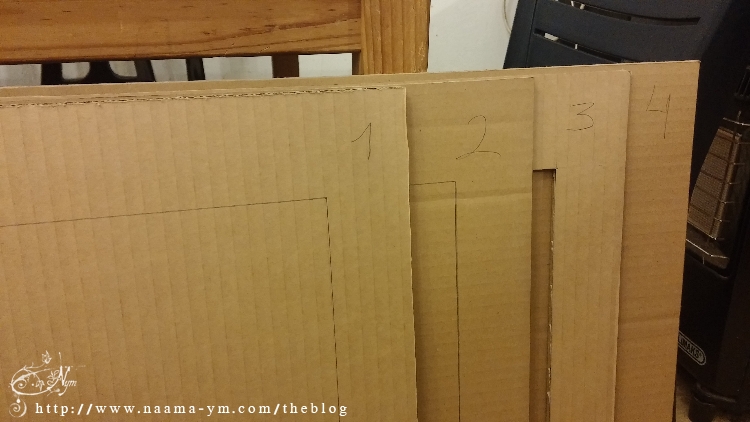
Tip 3 – It is very important that the direction of the “waves” in the cardboard be vertical. Since in two of the cardboards that I cut the direction was horizontal, I made sure that cardboard 1 and 3 would have vertical waves and the other two would be horizontal so that the structure would have at least one vertical cardboard in the center.
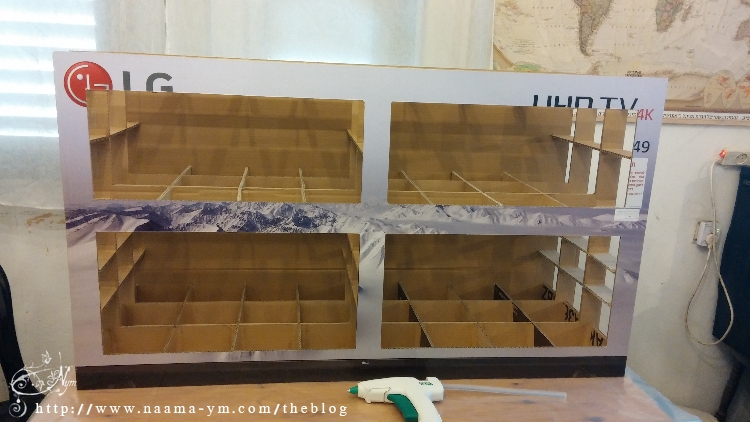
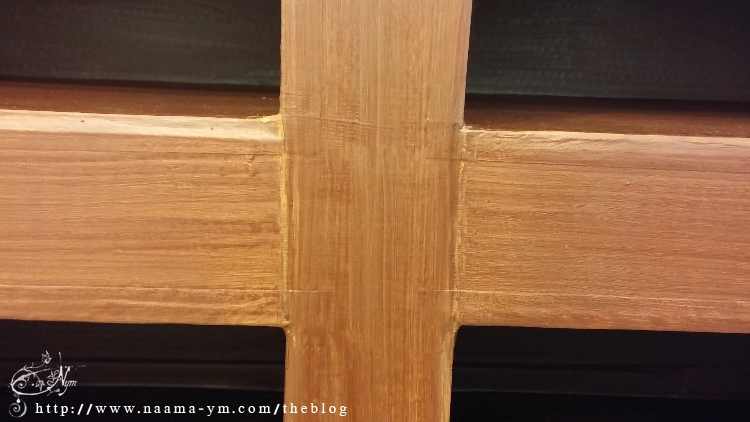
The next step – I planned how many cross pieces I would need, and cut them. A long but necessary step.
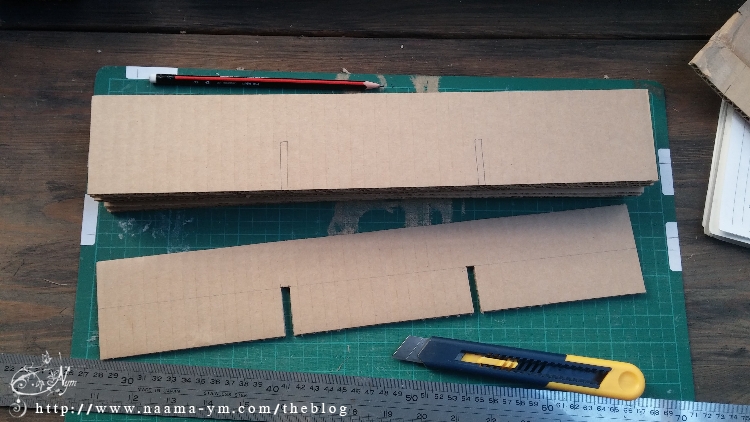
I cut notches’ half the height. I used the first one as a template for the rest.
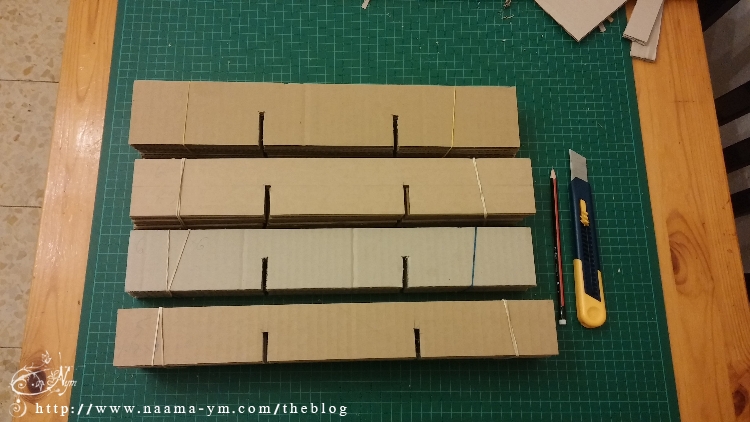
I made similar notches in the #2 and #3 panels.
In panels #1 and #4 I didn’t cut the nothces, but I marked their place.
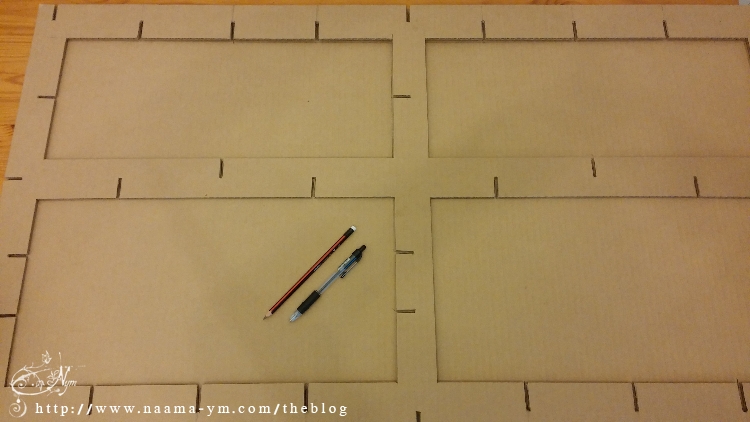
And now for the assembly.
Tip 4 – don’t use glue at this point. just assemble and check that nothing is missing or too long or too short.
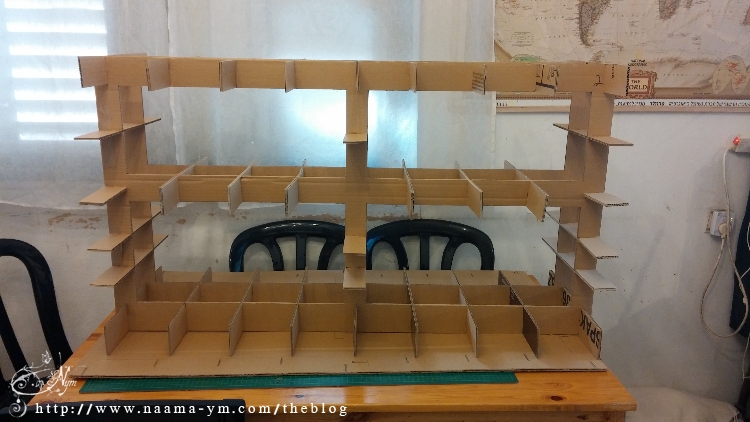
side view
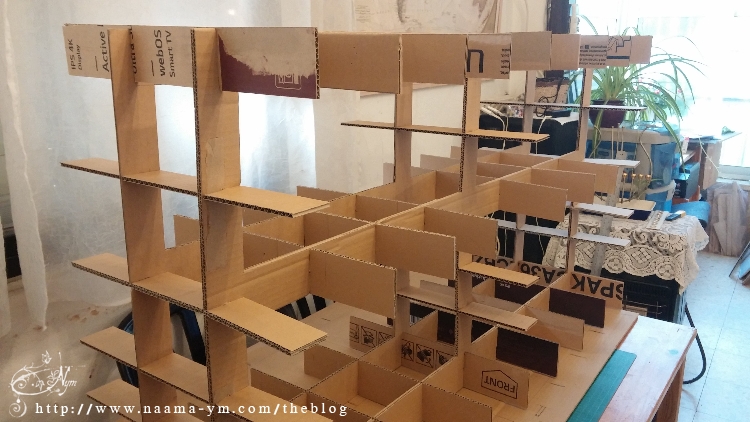
If everything is ok you can assemble again using PVA glue.
I also used paper tape to secure all the connection points. it is not necessary, but I did that extra measure.
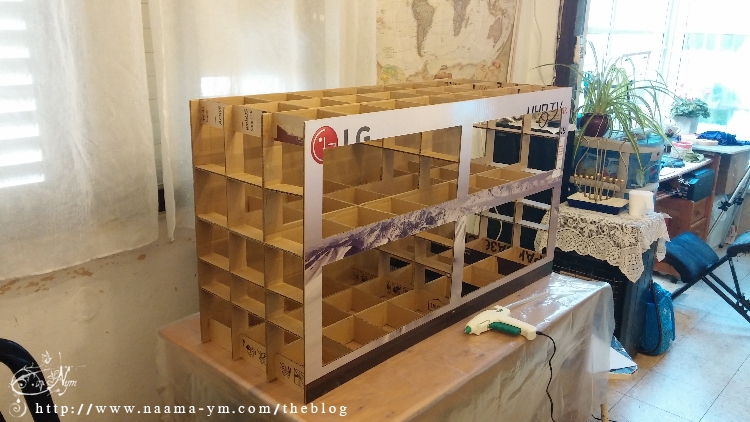
And now add the front panel (#1) and the back panel (#4) using a hot glue gun.
Tip 5 – choose the smoothest cardboard for the front panel.
Side view.
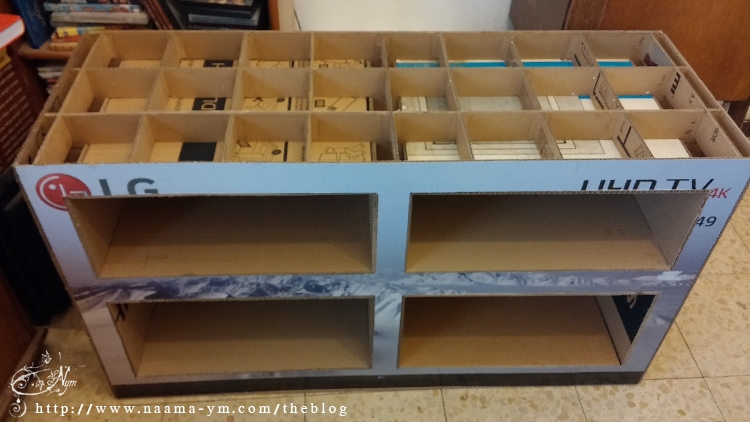
add inner cells. I used PVA glue, so I used pins to pin that in place. If you use hot glue, you don’t need pins.
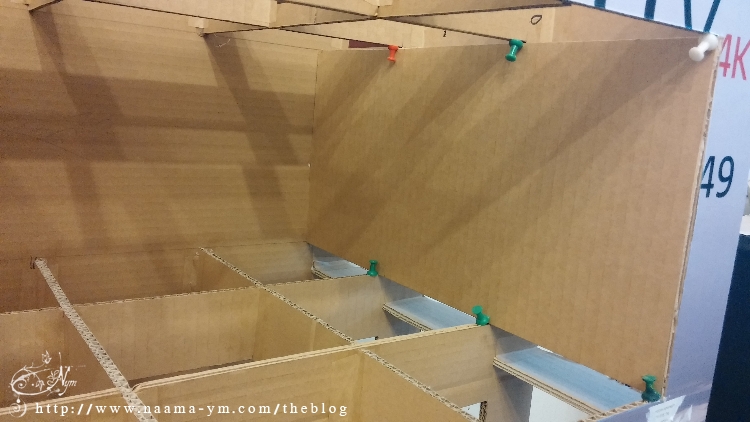
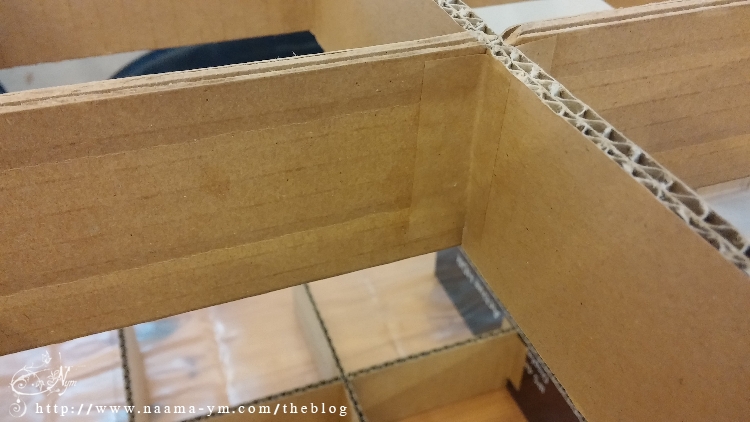
Tip 6 – before you add the external side pieces, check that nothing is sticking out. use a utility knife to cut and level everything to the same height.

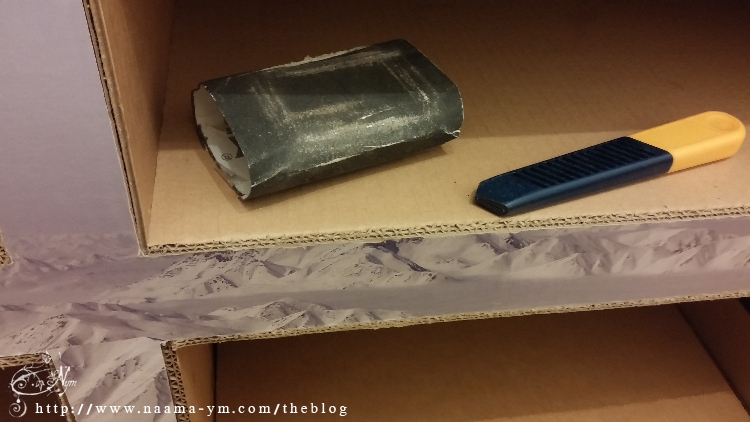
I fllipped the cabinet upside down and added cardboard rolls where the wheels should be. they will give the wheels something to connect to.
I turned it upright again.
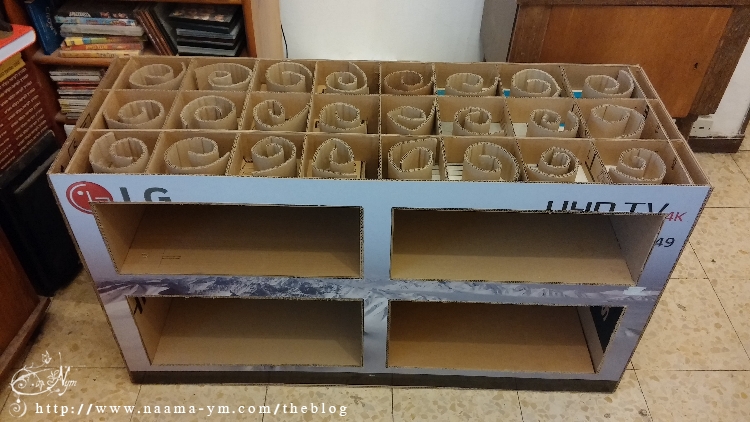
Before I put the top on, I added more cardboard rolls, to give support to the top. I used hot glue for this.
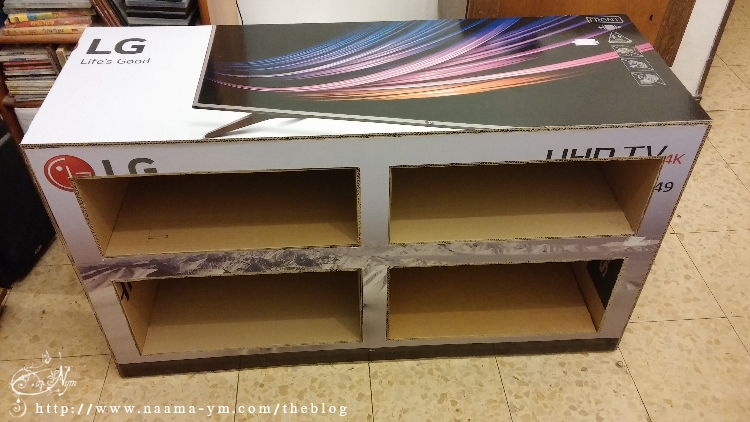
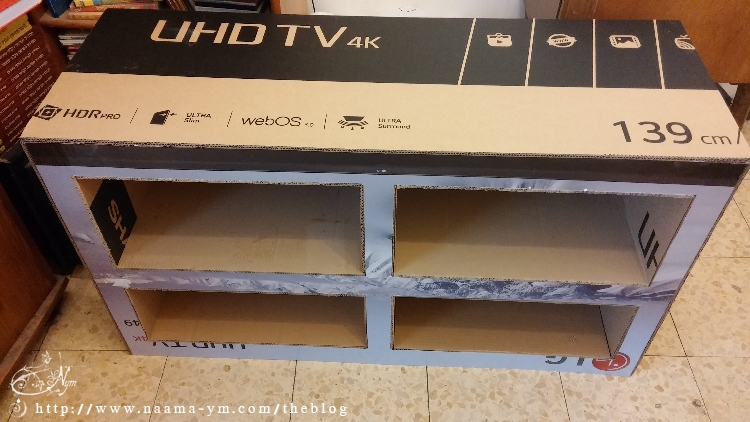
And put the top on. Again it was from al a large TV screen package box.
And the bottom side too.
I connected the wheels with hot glue and screws.
I turned the cabinet again to the upside position for the last time.
Now that it has wheels it was easy to move around the small room.
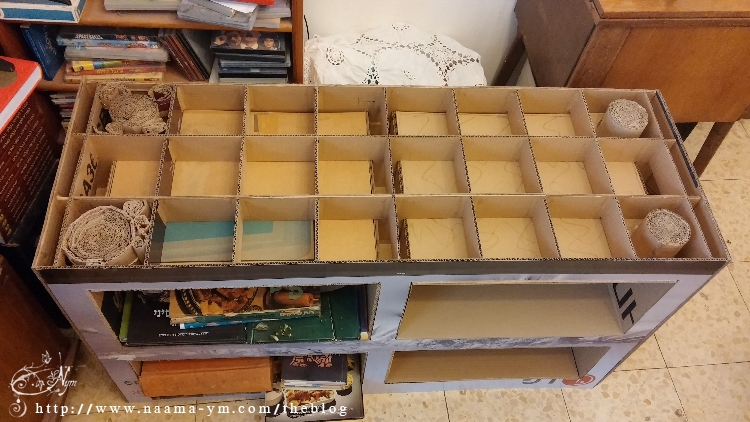
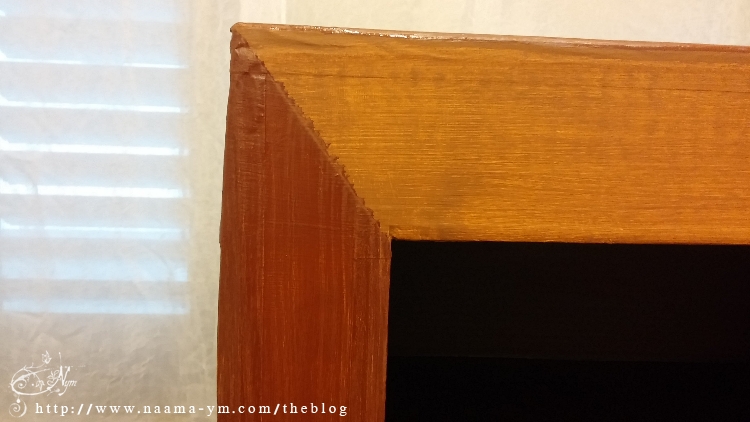
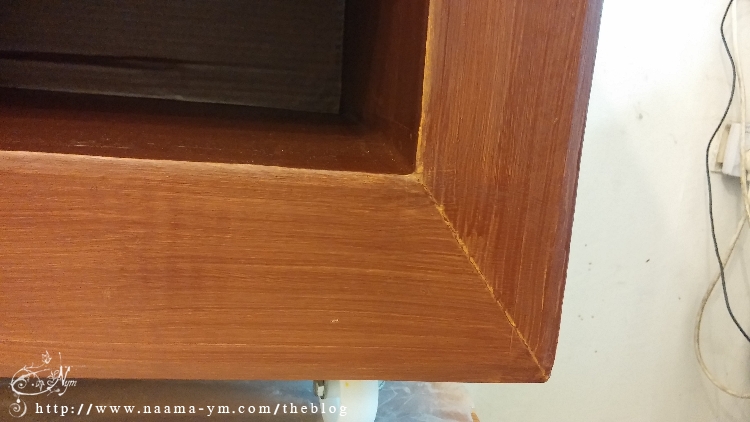
Tip 7 – Before moving to the next step, cut and sand off the protruding parts, to smooth all the connections.
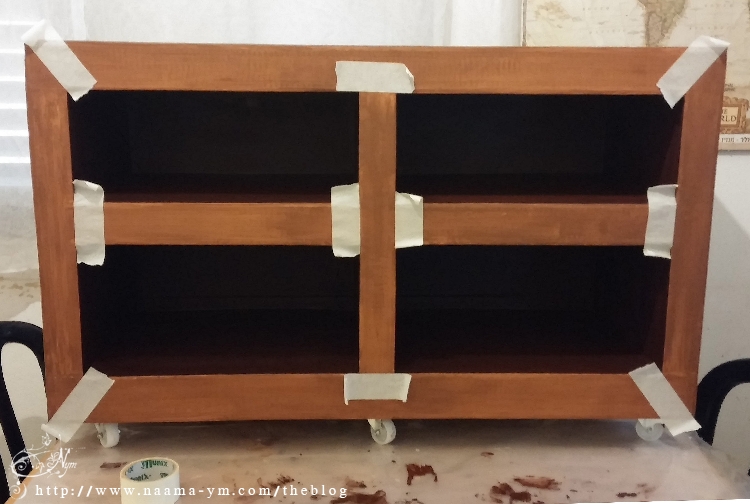
Tip 8 – secure all the corners outside and inside the cells, with paper tape. it gives a neater look, and it makes the furniture stronger.
And now you can paint the furniture.
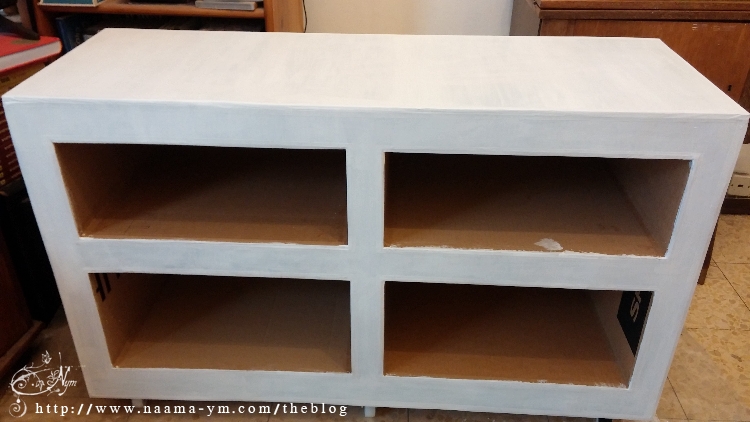
I painted several layers of white acrylic paint to cover all the printing.
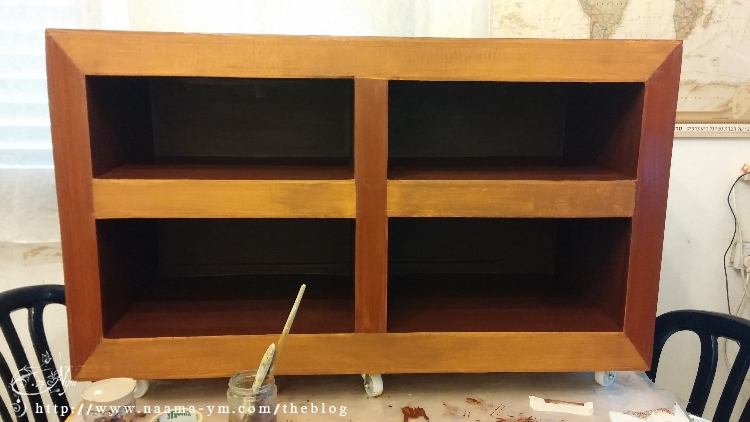
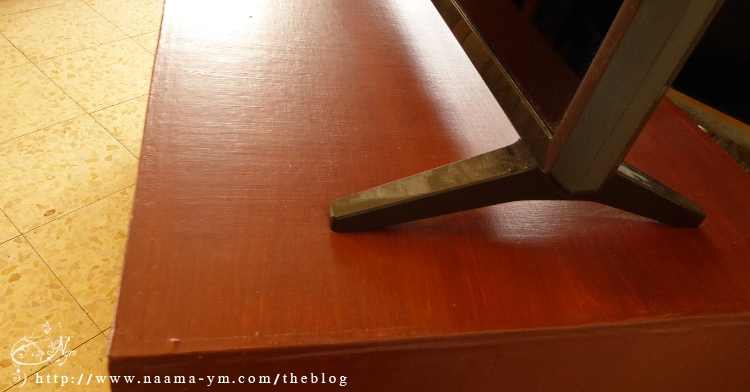
And then several layer of brown paint to get a wood effect.
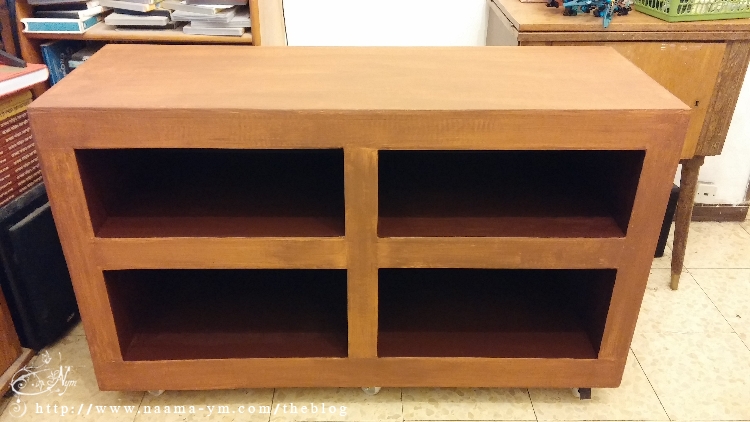
And finally, two coats of varnish.
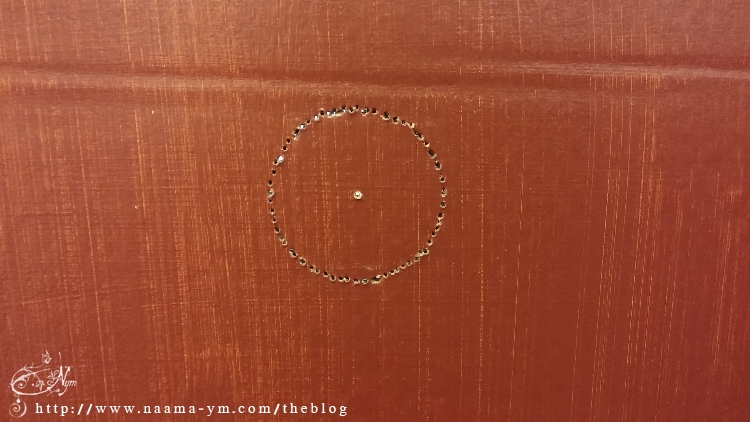
I cut holes in the back panel for the cables.
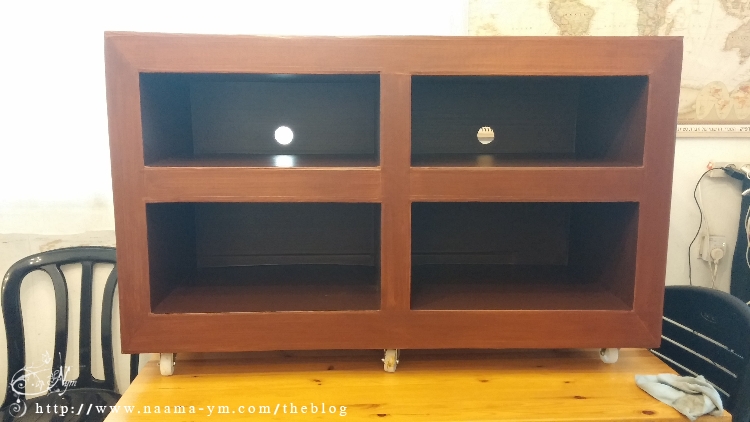
And it is finished!
If you want to learn more, check out my online courses on Skillshare
Or the course on udemy:
How to make unique furniture by yourself with cardboard
Simple DIY project – Learn how to make real furniture that you will be proud of, using only cardboard and glue.
No power tools are needed.