

10 Things I’ve Learned About Embroidery (So Far)
1. It’s fun
I enjoy it so much more than I expected. Maybe because I feel less pressure this time, I can simply enjoy the process without needing to prove anything or produce “serious art.” From the start, embroidery doesn’t carry the expectation of being realistic, which makes it wonderfully freeing.

2. It doesn’t take much space—or fancy equipment
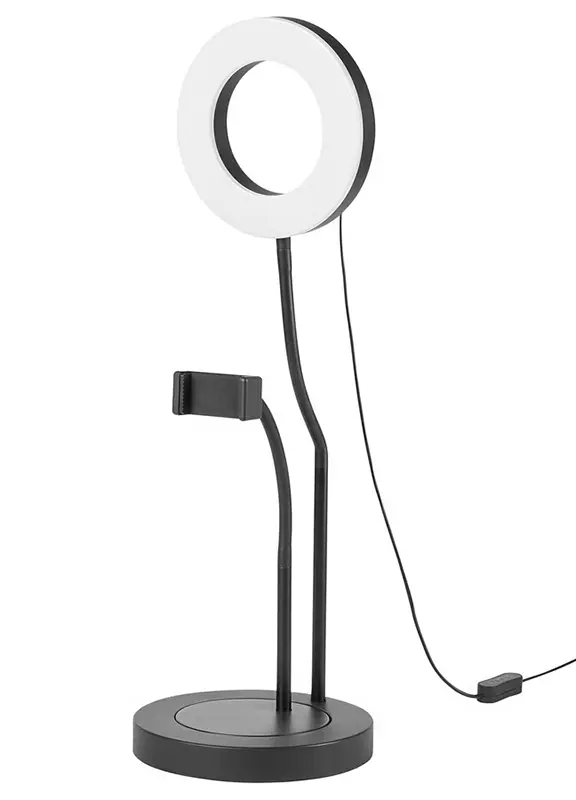
You can do it in the living room while watching TV. The only real challenge is lighting. I’m no longer a young “sparrow,” and my eyes need plenty of light to see small details. My solution was a personal lamp that lets me embroider without disturbing anyone else. You can also find dedicated lamps and magnifying lenses in craft shops.
3. I can use fabrics I already have
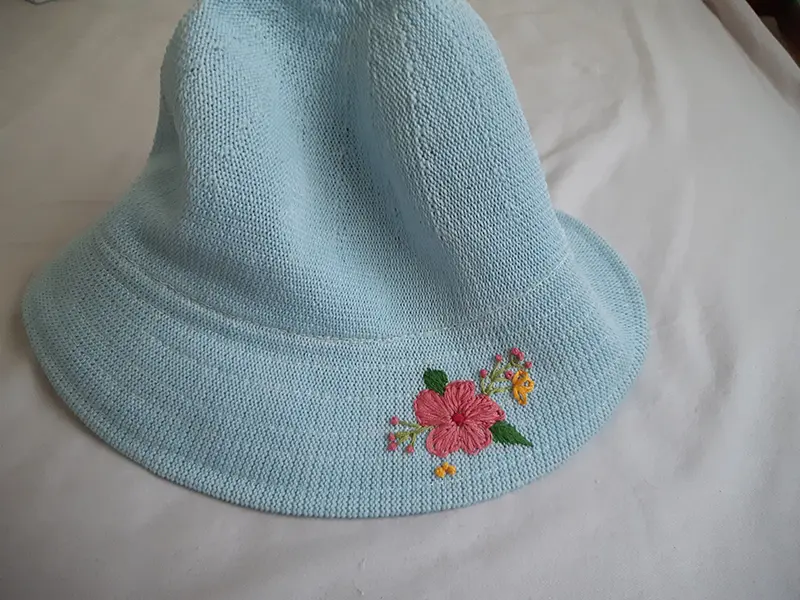
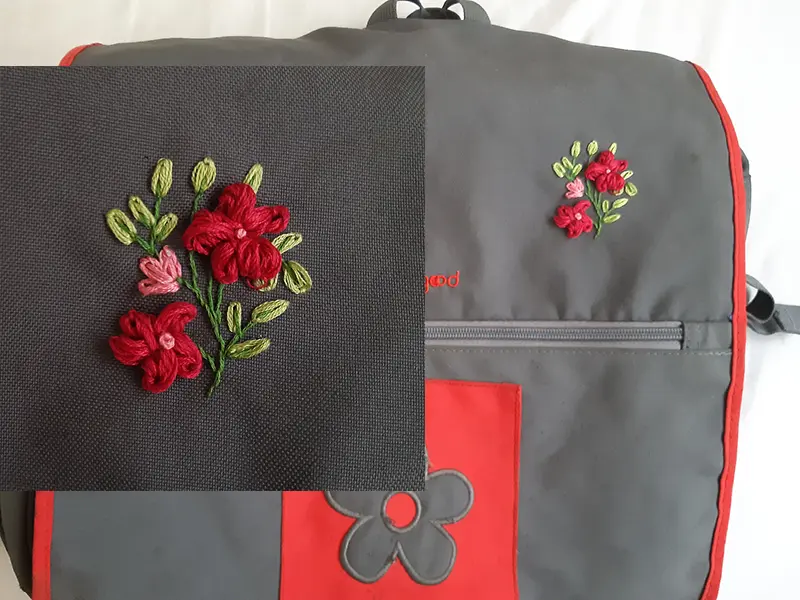
Most cotton fabrics are fine, as long as they are not too stretchy. That suits me perfectly since I love reusing and recycling. I haven’t bought fabric specifically for embroidery yet—I have plenty of scraps saved up. And embroidery isn’t just for scraps: you can stitch onto clothes, hats, or bags.
4. Embroidery floss is versatile
Unlike my earlier attempts, where I used a single thread (VOG perle cotton), I now embroider with “floss” (skeins made of six strands). You can use all six together for a bold line, or just 2–3 (or even 1) for delicate details. It’s a bit like choosing the thickness of a pencil or the size of a paintbrush.
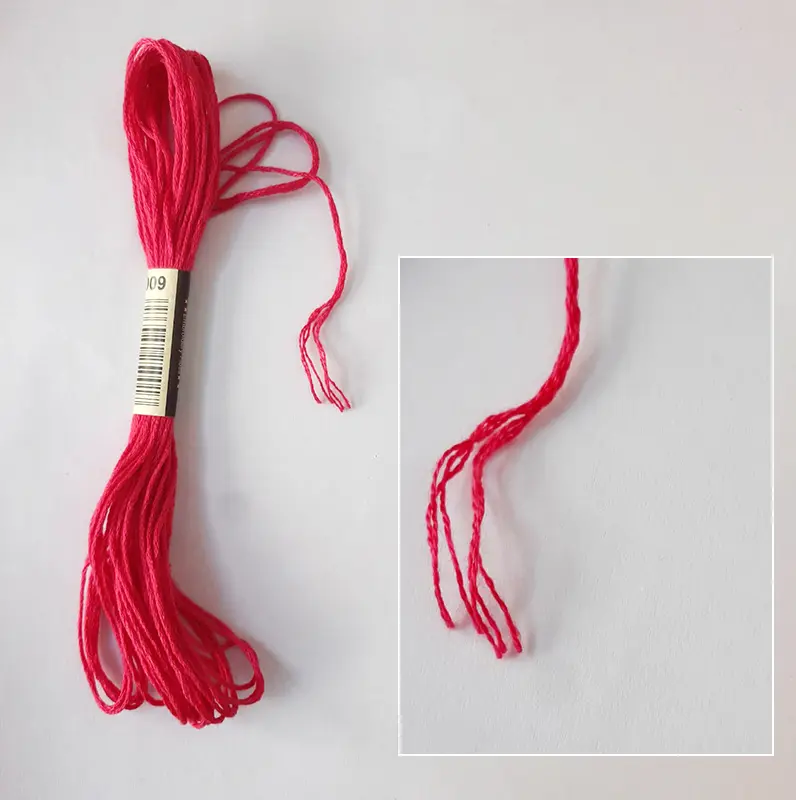
5. You can use cheap floss
The gold standard is DMC Mouliné. They are not expensive, but it adds up if you want a wide color range. Unlike paint, you can’t just mix a few base colors; embroidery really does call for variety.
I picked up some beautiful skeins at a local shop, but when I wanted more colors, I tried my luck with AliExpress (which I usually avoid). To my surprise, the quality was fine. Not quite as smooth as DMC, but definitely usable. I bought a set of 100 skeins for 8.8$ . A real bargain.
6. Small details
If you want to embroider something detailed, start larger than you think. Decide what the smallest element is, and how big it needs to be in order to work.
When I embroidered a dodo, my first version (on the right) was too small, and the eye came out wonky. The second version (on the left) was bigger, which left room for delicate touches like the eye and feather details.
That second attempt also taught me about thread thickness. On the first dodo, I used all six strands everywhere; in the second, I switched between 3 strands, 2 strands, and only used all 6 for the legs.
I also gave myself permission to play with colors instead of forcing “realistic” shades. It made the process far more enjoyable.
(More photos of the dodo project, and how I turned it into a Kindle cover, are coming in another post.)

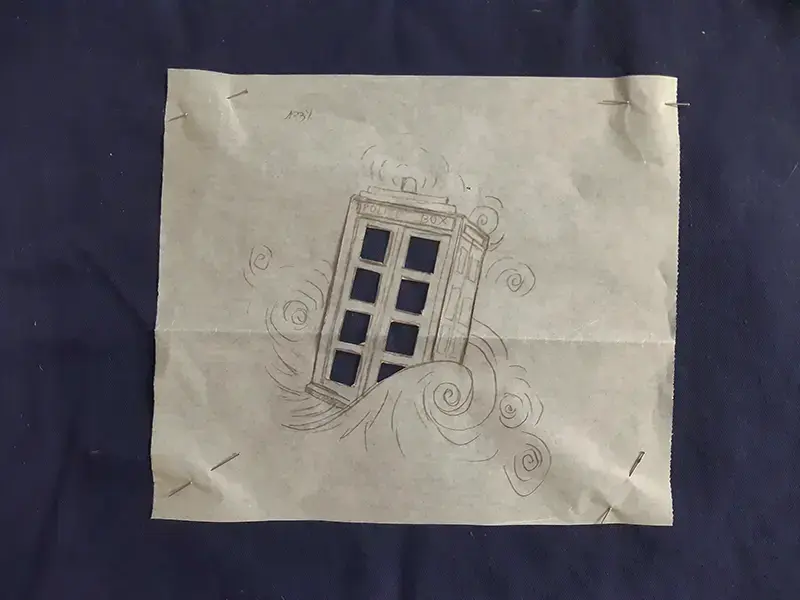
7. Transferring a design to fabric
Unlike drawing on paper, you can’t just trace easily. Traditional tricks like rubbing pencil on the back don’t work well here. Instead, there are special transfer papers for fabric, or dissolvable sheets you can print or draw on. You embroider directly onto the sheet, then wash it away when you’re done.
I don’t have those (yet), so for now I use stencils: cutting parts of the drawing and tracing them onto fabric with a fabric pen.


8. Fabric pens are magic
I have one in white and one in blue. You sketch your design, embroider over it, then erase the pen marks with heat – Iron the fabric or use hair dryer and they vanish.
Tip: buy a pen that disappears with heat, not one that fades with time. The fading ones are unreliable and can leave faint marks for weeks.
9. Inspiration
Of course, YouTube and Instagram are full of inspiration. But the artist who inspired me most is Danielle Clough. She has a wonderfully free approach to color, which made me loosen up and enjoy the process more.
I watched her Skillshare courses: the beginner class covers stitches, shading, and transitions; the advanced class explores portrait embroidery. Thanks to her, I even attempted a half-portrait in blue threads (I’m still building up courage for a full one).

10. Getting started
You don’t need to buy much to begin. Even regular sewing thread, doubled or tripled, can work. Choose some embroidery floss with pretty colors and grab an embroidery hoop (they make things more comfortable, but aren’t essential). Chances are, you already have what you need at home.
As for what to embroider, start simple: flowers, small patterns, basic stitches. Once you feel confident, try something a little more ambitious—like birds. I wouldn’t jump straight into portraits; they can be frustrating for beginners.
For learning, here’s a great video with basic stitches, another YouTube channel with plenty of useful tips , and an Instagram account full of short tutorials.
Embroidery turned out to be more than a craft for me—it’s a way to relax, play with color, and make use of what I already have at home. If you’ve ever been curious, I highly recommend just picking up a needle and giving it a try.